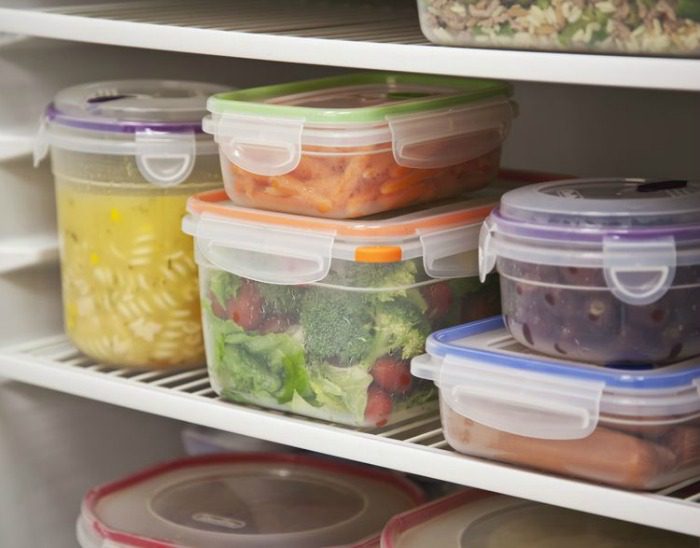
Here we are on our third week already of Organized Kitchens. We have tackled the Pantry and the Spices. I am absolutely loving our new Spice drawer with all the clearly marked and organized spices. Today we are tackling the Refrigerator.
I’m sure you have been there a time or two – you open the fridge and are not really sure what you have, whether it’s full of half eaten jars of pickles or multiple containers with leftovers, we all (at some point) could use tips on organizing our refrigerators. We’ve gathered some of the best tips for organizing your refrigerator and make it more efficient by creating different zones.

We are changing things up a bit today, and instead of sharing products to organize your refrigerator, we decided to help you understand where different food should be stored and how to create zones to make things easier to find. To get things started let’s do a little visualization exercise. We want you to think of your refrigerator in terms of cold zones, to keep it simple we’ll break it down into five zones coldest to warmest.

- Store your milk and other dairy products here, yogurt, butter, sour cream and cottage cheese are just a few of the typical dairy items you need to store along side your milk. In addition store any uncooked meats in their original packaging here as well. To make accessing the smaller items easier try placing a turntable on the shelf.

- Most refrigerators have at least two crisper drawers and some like ours come equipped with additional drawers, sometimes located about half way up the refrigerator. We’ll address each of these drawers separately. If your have the ability to adjust the humidity on your drawers the ideal setup is to have one drawer set for high humidity and the other low humidity. Store vegetables in loosely closed bags with a single piece of paper towel wrapped around them in the higher humidity drawer. Use the lower humidity drawer to store your fruits, ideally if you have apples in your fridge you’ll want to keep them separate from your other fruit because it emits a gas that speeds up ripening. Melons and stone fruits should be stored on your kitchen counter, any additional moisture can cause many of these types of fruit to get moldy on the outside and shorten their storage life. Although once you cut into them store them in the low humidity drawer wrapped in plastic. Store cooked meat or deli meats in the drawers located mid way up the refrigerator. If your refrigerator does have this drawer store them alternately on the bottom shelf.

- These tend to be the areas of the fridge where the temperature remains the most consistent. Store eggs in their original containers, cheeses and margarine will do well here because they are pasteurized.

- Use this area to store those items that you use the most, even though this is the warmest area it is a great area to place frequently used items and condiments. Also use this area to put pre-cut fruit and other healthy choices to entice your family.

- This is the perfect place for your condiments and any pasteurized products like orange juice.
Additional tips to get the most out of your refrigerator
- Create meal zones – designate an area of your fridge that you can place all the ingredients for the evening meal. It will save you prep time and you won’t get caught without that one ingredient needed.
- Containers – for small like items that tend to get lost in your refrigerator use a clear sided container to store them in.
- Clean out day – designate a day each week to throw out expired products and any leftovers that are a week old. We typically do this the night before our garbage day so the critters don’t become a problem.
- Leftover strategy – have a strategy, possibly you have one evening meal a week that uses your leftovers for the week. We have designated one area in the refrigerator to keep all the leftovers. it makes it easier for everyone to grab if they’re in a hurry and just want to reheat a quick meal. Also makes it easier on clean out day.
- Wait until Grocery Day to Clean – Clean your refrigerator on days when you do your main grocery shopping. Typically your refrigerator will have less food, so it will be easier to remove items and clean. Then it’s ready to fill after your grocery trip.
- Arrange healthy food towards the front – make it easy for you and your family to choose healthy food options.
- Take some containers out of packaging – those multiple packaged containers like individual sized servings of yogurt and applesauce should be broken down and separated. Not only does it make it quick to grab a quick snack the temperature of the product is regulated better.
- Group like items together – when possible group like items together. That might include an area for your favorite burger topping or maybe an area for each meal. Be creative but follow the storage guidelines above.
Follow these suggestions and you’ll have the most efficient and best looking refrigerator on your block. Join the discussion and tell us how you intend to use these tips and suggestions to get your refrigerator on track.


4 Comments
Hi! I couldn’t find an e-mail address on your website, but I just wanted to let you know how wonderful you and your website are. I found your site a few weeks ago when I was looking to expand our menu plan. I was rotating meals every 4 weeks, but thanks to you I have doubled the meals we have and now I rotate every 8 weeks! My family and I have loved everything we have tried so far! I have subscribed to your weekly newsletter and am looking forward to getting even more ideas!
I also have a quick question. When your kids were little (mine are ages 4, 3 and 1), what did you do when they didn’t want to eat what you served for dinner? I tell them that if they don’t want what we’re having that they don’t have to eat it, but they don’t get anything else. My husband doesn’t really agree with me because he doesn’t want them going to bed hungry. What did you do to get your kids to eat a wider variety of food? Thanks again!
Hi Desiree, We are so excited that you like the menu plans! Thanks for letting us know.
As for getting your little ones to eat, we struggled with that as well. Most of the time, I just fixed something that they all liked. It was boring, but easy.
I actually have only 1 of the 3 that eats good. The youngest eats okay, but the oldest could live on nuggets and fries.
My suggestion would be to just continue to introduce the food and be patient. 🙂
Happy Cooking!
~Liz
These are really great tips. I try to keep my fridge organized at all times. There was a time when I routinely found mystery fungus covered food in my fridge because it got pushed to the back for so long.
Thank you … 🙂
These are great tips! Thanks a lot 😉